Changing your home flooring is a cost effective way to enhance the look of your home and improve comfort. Installing a carpet or a hard surface like tile, vinyl, wood, or laminate seems easy enough, even for someone with minimal technical knowhow. But experience matters, and getting a professional to handle the installation is the best way to avoid the headache of shoddy work, wasted flooring materials, and repairs soon after installation.
If you still want to install your own flooring, it is important that you follow the typical steps that any professional installer would to ensure that the work is attractive and satisfactory. For most floor installations, you will likely go through these three phases:
Phase 1: Floor preparation
Whether you’re laying a carpet or installing tiles, the first step is to clean your work area. Having a clean, dry, and flat substrate is critical to any successful installation.
Before installing soft surfaces, such as carpets, you should replace any old metals or loose tack strip to make the carpet job hassle-free. When installing hard surfaces, start by properly prepping the floor – flattening, sealing, and cleaning.
Failure to perform proper prep work will make the installation process stressful and the final job unsatisfactory – like with a popping tack strip or a floating floor. Getting it right the first time will also save you on time and money spent on repair work.
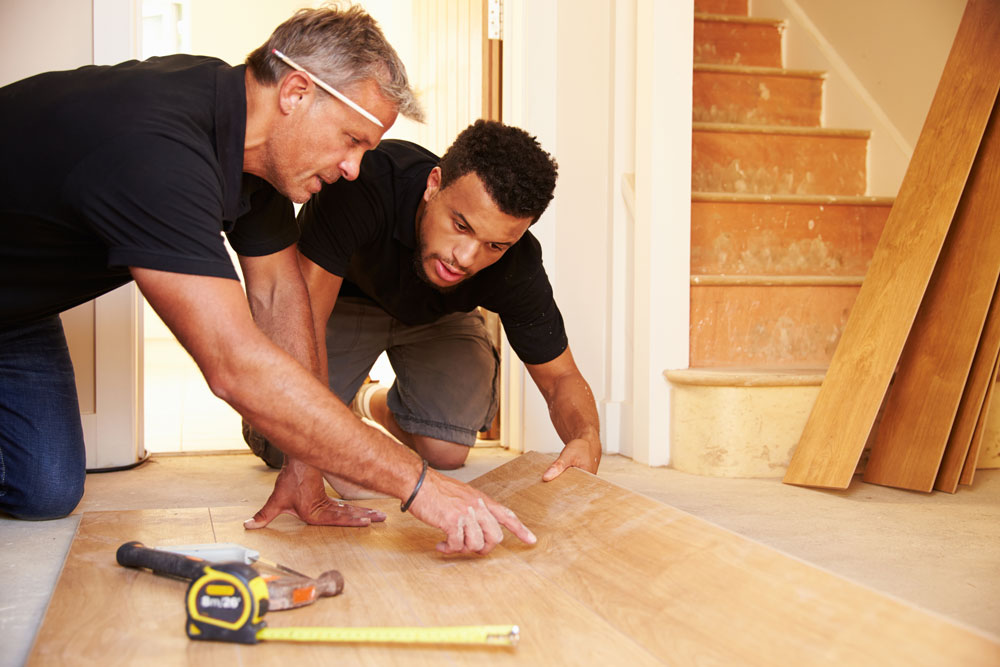
Phase 2: Floor installation
When you surface is ready, you can proceed with installing your floor. This process is fairly easy provided you follow the installation guidelines for your specific type of floor. If you have any trouble, you should consult a flooring contractor for assistance.
Phase 3: The Finishing
Properly cutting, staining, and finishing your T_moldings, quarter round, base baseboards, and other trims can even make a poorly installed floor look good. This part of your floor installation requires some creativity as you may need to customize your trim to suit your application.
Final Tip
Transitions like reducers and T-moldings are a common challenge for most DIYers. If you cannot nail the molding to the surface, consider bonding it to the surface using construction adhesive at the bottom and hot-melt glue on the sides – to hold the molding in place while the construction adhesive cures. This will help to prevent costly accidents when someone steps on the molding before it properly adheres to the surface and avoid any delays with your flooring project.